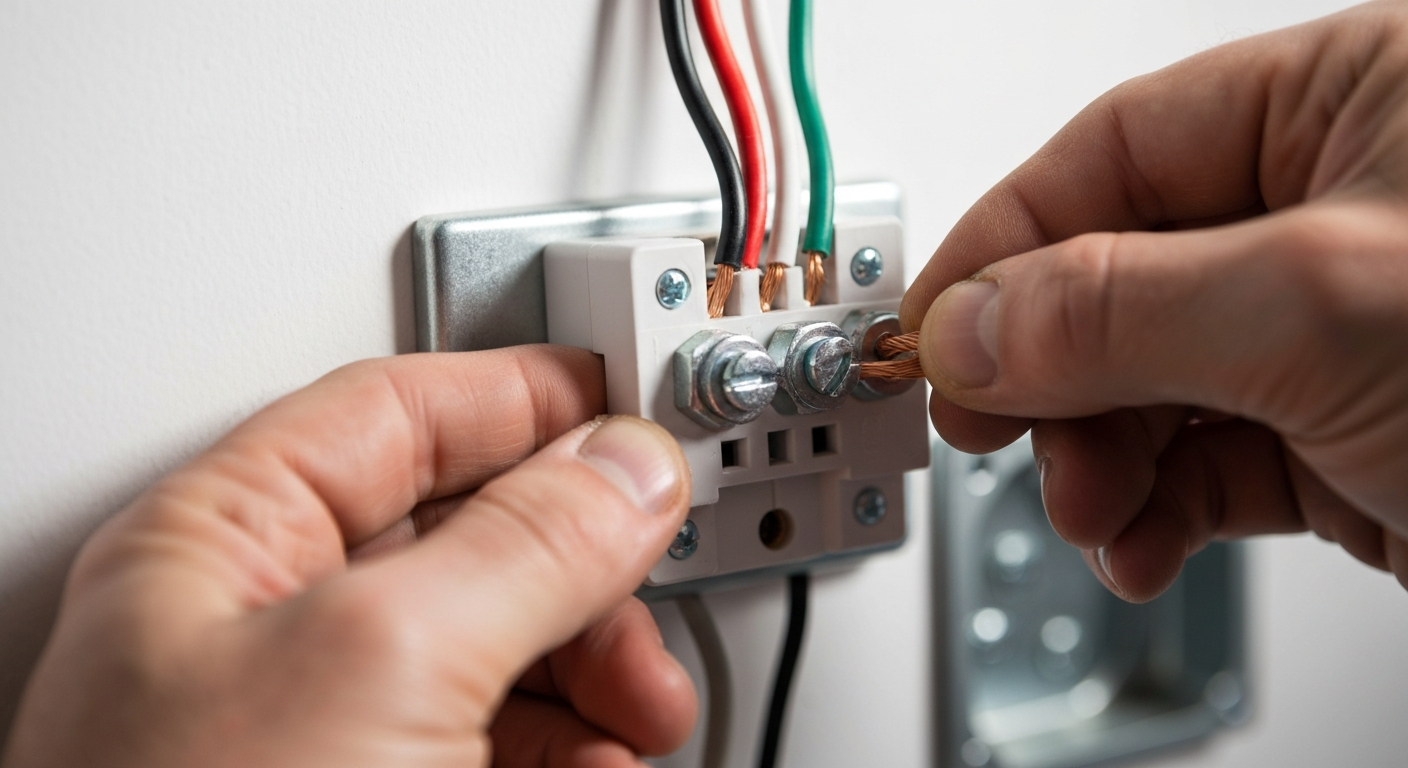
How to Wire a 3-Prong and 4-Prong Dryer Receptacle
Understanding the Core Differences: 3-Prong vs. 4-Prong Dryer Wiring
The evolution from 3-prong to 4-prong receptacles marks a significant step forward in residential electrical safety. The proper clothes dryer electrical setup depends on the age of the installation and the wiring available. For a professional electrician, knowing the history and technical distinctions is non-negotiable.
The Legacy 3-Prong (NEMA 10-30R) Ungrounded Dryer Receptacle
Prior to the 1996 edition of the NEC, the standard for dryer wiring was a 3-prong receptacle, the NEMA 10-30R. This configuration is now considered an ungrounded dryer receptacle by today’s standards because it functions without a separate equipment grounding conductor. It features two 120V “hot” conductors and a single grounded “neutral” conductor. In this setup, the neutral conductor was required to be bonded to the dryer’s frame, serving a dual purpose as both the neutral return path and the equipment ground. This presented a potential safety hazard: if the neutral connection were to fail, the metal frame of the dryer could become energized at 120V, creating a severe shock risk. The NEMA 10-30R wiring is only acceptable for existing installations where a 4-wire feed is not available.
The Modern 4-Prong (NEMA 14-30R) with Separate Neutral and Ground
The modern standard is the NEMA 14-30R wiring, which utilizes a 4-wire circuit. This superior design features two hot conductors, a dedicated neutral conductor, and a dedicated equipment grounding conductor. This practice of having a separate neutral and ground is the cornerstone of modern appliance safety. The 4 cord dryer wiring ensures that the grounding path is completely isolated from the current-carrying neutral conductor. This eliminates the risk of the appliance frame becoming energized if the neutral wire is compromised, as any fault current will be safely directed to the ground, tripping the breaker.
NEC Dryer Receptacle Requirements and Code Compliance
The mandate for 4-prong receptacles in new construction is one of the most important NEC dryer receptacle requirements. The code specifically addresses this in Article 250. However, the NEC provides an important exception in section NEC 250.140 for existing installations. This section permits the use of an existing 3-wire branch circuit for appliances like dryers and ranges, provided the neutral conductor is insulated and not smaller than No. 10 AWG copper or No. 8 AWG aluminum. This same article provides guidance for other major appliances, so it’s a critical reference when dealing with an electric range or similar 240V equipment in older homes. The 2023 NEC continues to evolve these rules, and you can explore how the code simplifies grounding for ranges and dryers in our detailed guide.
Step-by-Step Guide to Dryer Receptacle Wiring
Whether installing a new circuit or replacing an old receptacle, precision is key. Always begin by de-energizing the circuit at the panelboard and verifying with a multimeter.
Wiring a 4-Prong NEMA 14-30R (The Modern Standard)
For any new installation, a 4-wire circuit is required. The typical setup involves a dedicated 30-amp circuit wiring plan using 10/3 wire for dryer installations, protected by a double-pole breaker.
- Turn Off Power: Locate the double-pole breaker controlling the dryer circuit in the electrical panel and switch it to the “OFF” position. Tag and lock it out.
- Prepare the Wire: Strip the outer jacket from your 10/3 NM-B cable to expose the four conductors: black (hot), red (hot), white (neutral), and bare copper (ground). Strip approximately 3/4 inch of insulation from the black, red, and white conductors.
- Follow the Dryer Wiring Diagram: Connect the conductors to the corresponding terminals on the NEMA 14-30R receptacle.
- The Black wire (Hot 1) connects to one of the brass or bronze-colored “hot” terminals (usually marked ‘X’ or ‘Y’).
- The Red wire (Hot 2) connects to the other brass or bronze-colored “hot” terminal.
- The White wire (Neutral) connects to the center, silver-colored terminal (marked ‘W’ for white or ‘Neutral’).
- The Bare Copper wire (Ground) connects to the green ground screw (marked ‘G’ or ‘GR’).
- Mount and Finish: Carefully fold the wires into the electrical box, mount the receptacle, and attach the faceplate. Restore power and test the voltage: you should read ~240V between the two hot terminals and ~120V from each hot to neutral and each hot to ground. This confirms your 240v outlet wiring is correct.
Critical Considerations for Dryer Circuit Installation
Beyond the receptacle itself, a code-compliant installation requires attention to the entire circuit, from the panel to the outlet. This is especially true when installing a subpanel dryer circuit.
- Circuit Type and Protection: An electric dryer requires a dedicated 120/240V single-phase, 30-amp circuit. This must be protected by a 30-amp double-pole breaker.
- Conductor Sizing: For a 30A circuit, 10 AWG copper conductors are standard. Using 10/3 wire for dryer (plus ground) is the modern requirement for 4-prong receptacles.
- Load Calculations: The load of a dryer must be included in the overall service load calculation for a dwelling unit. Understanding how the latest NEC changes dwelling unit load calculations is crucial for any residential project.
- Grounding Conductor Sizing: Proper sizing of the ground wire is just as critical as the current-carrying conductors. For an in-depth review, see our lesson on how equipment grounding conductor sizing and splicing rules changed in the 2023 NEC.
Handling Service Calls: Converting 3-Prong to 4-Prong Outlet and Cords
A common service call involves a client purchasing a new dryer (which comes with a 4-prong cord) for a home with an existing 3-prong outlet. You have two options:
1. Converting 3-Prong to 4-Prong Outlet (Recommended): The safest and most code-compliant long-term solution is upgrading the circuit. This involves running a new 10/3 NM-B cable from the panel to the outlet box and installing a new NEMA 14-30R receptacle. This brings the installation up to modern safety standards.
2. Changing the Dryer Cord (Pigtail): If running a new wire is not feasible, the NEC allows for replacing the 4-prong cord on the new dryer with a 3-prong cord to match the existing receptacle. When doing this, you must follow the dryer pigtail color code and, critically, re-establish the bonding connection between the neutral terminal and the dryer’s frame on the dryer’s terminal block, as per the manufacturer’s instructions. This is a common task when working on older 220 plug wiring systems.
Properly handling these scenarios demonstrates your expertise and commitment to safety. Ensure your appliance installations are safe and up to code. Learn more.
Primary Sources
This article references standards and best practices outlined in NFPA 70, the National Electrical Code® (NEC®), 2023 Edition.
Frequently Asked Questions About Dryer Receptacle Wiring
- What is the correct dryer wiring for a modern home?
- The correct dryer wiring for any new installation is a 4-wire circuit feeding a NEMA 14-30R receptacle. This provides two hots, a dedicated neutral, and a dedicated equipment grounding conductor for maximum safety, representing the best practice for 220v outlet wiring.
- Can I still use 3 prong dryer wiring?
- Yes, but only in specific situations. According to NEC 250.140, you can use an existing 3 prong dryer wiring setup if you are replacing an old dryer in a home built before 1996 and running a new 4-wire circuit is not practical. You would then change the cord on the new dryer to a 3-prong pigtail.
- What’s the difference in a dryer wiring diagram for a 3-prong vs. 4-prong setup?
- A dryer wiring diagram for a 4-prong (NEMA 14-30R) setup shows four distinct connections: two hots, one neutral, and one ground. A diagram for a 3-prong (NEMA 10-30R) setup shows only three connections, where the neutral conductor is also bonded to the appliance frame to serve as the grounding path.
- What kind of circuit is needed for an electric washer and dryer set?
- For an electric washer and dryer set, two separate circuits are required. Per NEC 210.11(C)(2), a dedicated 120V, 20A circuit must be provided for the laundry receptacle outlet(s), which powers the washing machine. This circuit shall have no other outlets. The electric dryer, however, requires its own dedicated 30-amp circuit wiring on a 240V circuit.
Continuing Education by State
Select your state to view board-approved continuing education courses and requirements:
Disclaimer: The information provided in this educational content has been prepared with care to reflect current regulatory requirements for continuing education. However, licensing rules and regulations can vary by state and are subject to change. While we strive for accuracy, ExpertCE cannot guarantee that all details are complete or up to date at the time of reading. For the most current and authoritative information, always refer directly to your state’s official licensing board or regulatory agency.


