Using a Circuit Tracer to Identify Breakers in a Live Panel
How to Use a Circuit Tracer to Identify Breakers in a Live Panel
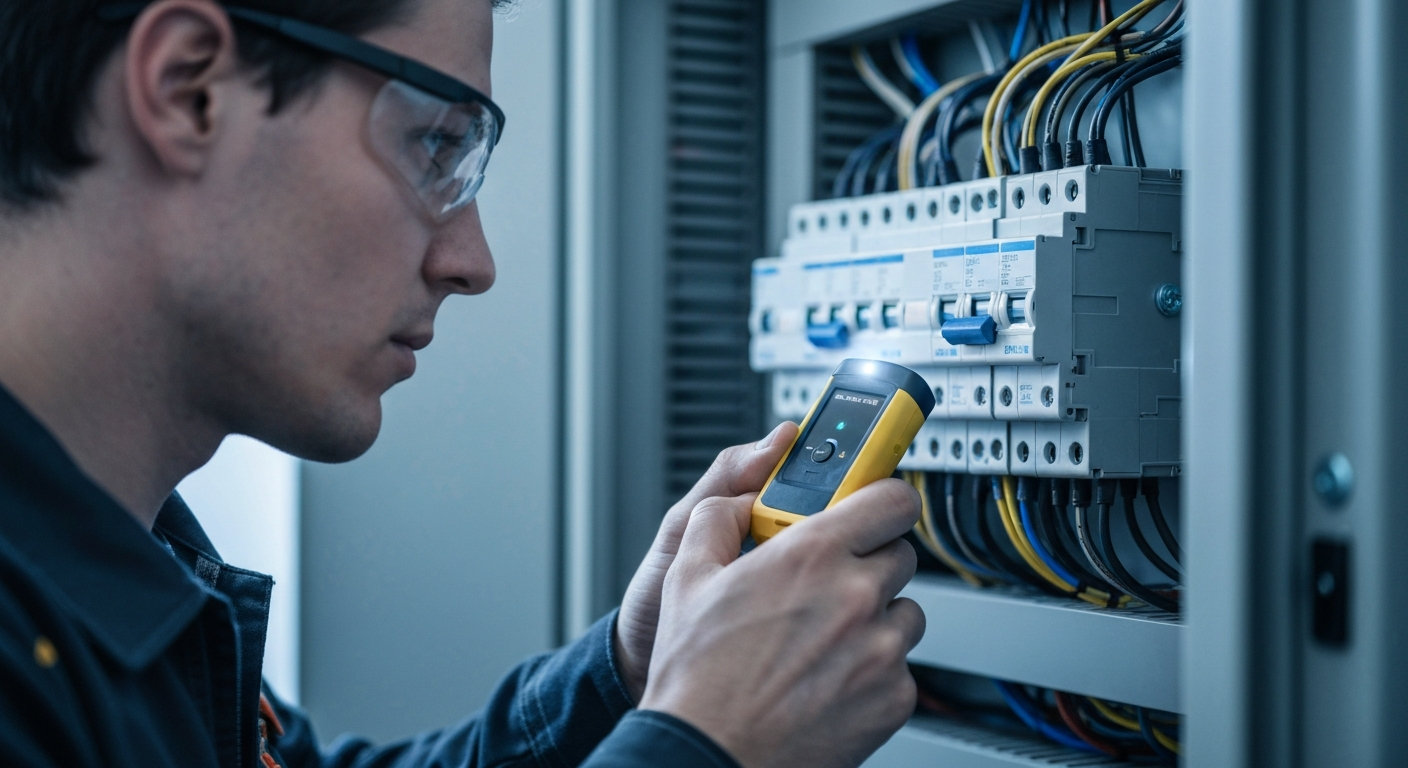
Using a circuit tracer is the most efficient method for accurately identifying which breaker protects a specific circuit, a critical task for any journeyman electrician. To properly use a circuit tracer on a live breaker panel, you connect the transmitter to the energized outlet or fixture, which sends a unique signal along the wire. Then, at the breaker panel, you scan each breaker with the receiver. The receiver is designed to detect the transmitter’s signal, indicating the correct breaker with a clear audible or visual alert. This process, often called energized panel tracing, is far superior to guesswork, enhancing both safety and efficiency. A quality circuit breaker finder not only speeds up circuit breaker mapping but also helps in diagnosing issues, such as why a breaker keeps tripping, by confirming the correct branch circuit identification before further troubleshooting begins.
The Essential Toolkit: Understanding Your Circuit Tracer
A modern circuit tracer, also known as a circuit breaker finder, consists of two primary components that work in tandem: a transmitter and a receiver. Understanding how each part functions is key to leveraging the tool for effective and safe energized wire identification.
The Circuit Tracer Transmitter: The Signal Source
The circuit tracer transmitter is the heart of the operation. Once plugged into a live electrical outlet or connected to a fixture, it draws a small amount of power and superimposes a specific, high-frequency signal onto the AC circuit. This signal travels from the outlet back along the building wiring to the breaker panel. Most transmitters come with standard plug blades for receptacles, but kits often include adapters for light sockets or an inductive clamp. An inductive clamp is particularly useful as it can be placed around an energized conductor without direct metallic contact, inducing the tracing signal onto the wire, which is ideal for tracing circuits that don’t terminate in a standard outlet.
The Receiver: Your Guide to Signal Strength
The receiver is the handheld part of the kit that you use at the breaker panel. It’s an induction-based detector specifically tuned to recognize the unique signal pattern generated by its paired transmitter. As you pass the receiver over the rows of circuit breakers, it senses the electromagnetic field created by the signal. When it passes over the correct breaker, it provides a clear indication—typically a loud, repeating beep and a visual alert like a flashing light or a high number on a digital display. Many professional models feature adjustable receiver sensitivity. This allows an electrician to first perform a broad scan to get a general location and then decrease the sensitivity to improve accuracy and pinpoint the exact breaker, minimizing signal bleed from adjacent circuits.
Safety First: NFPA 70E Compliance and Energized Panel Tracing
While using a circuit tracer on a live circuit is standard practice, any work involving an open or energized panel demands strict adherence to safety protocols. NFPA 70E compliance is not optional—it’s the standard for electrical safety in the workplace, designed to protect electricians from shock and arc flash hazards. Before beginning any energized panel tracing, a qualified person must perform a risk assessment, establish an arc flash boundary, and wear the appropriate Personal Protective Equipment (PPE). Always use a non-contact voltage (NCV) tester to verify a circuit is live before connecting the transmitter and to test for any unexpected voltage on panel surfaces. The goal is to identify the breaker, de-energize it, and then perform lockout/tagout before any further work is done. As you prepare to work inside panels, it’s a good time to review your practices. Working in panels? Review NEC working clearance requirements first. For a detailed guide on spatial requirements, you can learn more about NEC working clearance requirements under 110.26.
How to Use a Circuit Tracer: A Step-by-Step Guide for Branch Circuit Identification
Correctly performing branch circuit identification is a fundamental skill. Following a methodical process ensures accuracy and safety.
- Verify the Circuit is Energized: Before connecting the transmitter, use an NCV tester or multimeter to confirm the outlet or fixture is live. The transmitter needs power to send its signal.
- Connect the Circuit Tracer Transmitter: Plug the transmitter firmly into the receptacle. For other applications, use the appropriate adapter, such as a light socket pigtail or an inductive clamp around the hot conductor. Most transmitters have an indicator light that will illuminate to confirm it’s powered and transmitting.
- Calibrate the Receiver at the Breaker Panel: Go to the breaker panel and turn on your receiver. Some models require an initial “learning” pass. Scan all the breakers in the panel once at a consistent speed and distance; this allows the receiver to self-calibrate and differentiate the tracer’s signal from background electrical noise.
- Scan the Breakers for the Signal: Make a second pass, moving the receiver’s tip slowly over each breaker. The receiver will emit intermittent chirps or show a low signal strength on several breakers due to signal bleed. Continue scanning until you find one breaker that produces a strong, consistent, and repeating tone or a peak reading on the display.
- Pinpoint and Confirm the Breaker: Once you’ve identified the likely breaker, reduce the receiver’s sensitivity (if adjustable) and rescan the breakers immediately surrounding it. This helps eliminate a false positive identification and confirms you have the strongest signal. The correct breaker should be the only one that gives a definitive alert at the lower sensitivity setting.
- Final Verification and Labeling: Turn the identified breaker to the OFF position. Go back to the outlet and confirm the transmitter’s power light is now off. This verifies you have found the correct breaker. Once confirmed, proper labeling is crucial for future work. For guidance on code-compliant labeling, review best practices on how to properly label panelboards per NEC 2023.
Advanced Techniques and Troubleshooting Common Issues
Even with a quality circuit breaker finder, challenging situations can arise. Understanding how to troubleshoot them is a hallmark of an experienced professional.
Dealing with False Positive Identification and Ghost Voltage
False positive identification can occur in panels with bundled wiring or shared neutrals, where the signal “bleeds” onto adjacent breakers. To combat this, make multiple passes and adjust the receiver’s sensitivity. Another confusing phenomenon is ghost voltage, which is a voltage reading on a non-energized conductor caused by capacitive coupling from a nearby live wire. While a circuit tracer isn’t designed to measure it, this induced voltage can sometimes interfere with sensitive electronics. For definitive voltage diagnostics where ghost voltages are suspected, a meter with a low-impedance testing (LoZ) function is the appropriate tool, as it will dissipate the ghost voltage and show a true reading.
Tracing vs. Continuity Testing: Knowing the Right Tool
A circuit tracer is used to identify a specific energized wire’s path back to its breaker. In contrast, continuity testing is performed on a de-energized circuit to check for a complete electrical path between two points. A continuity tester sends a small DC current and indicates a closed loop, which is essential for checking for broken wires or confirming switch operation, but it cannot identify a breaker in a live panel.
What to Do When a Breaker Keeps Tripping
If a breaker keeps tripping, a circuit tracer can be the first step in diagnosis. It allows you to confidently identify every outlet and fixture on the affected branch circuit. Once the circuit is mapped, you can unplug all devices and turn the breaker back on. If it holds, you can plug devices back in one by one to find the faulty appliance. If it still trips with nothing plugged in, the fault lies within the wiring itself (a short circuit or ground fault), and further diagnostics are needed. In some cases, the issue may be a worn-out breaker that requires a circuit breaker replacement.
The Importance of Accurate Circuit Breaker Mapping
For any journeyman electrician, creating an accurate and legible circuit breaker mapping directory is a sign of true professionalism. A well-labeled panel saves immense time and reduces risk during future service calls, troubleshooting, or emergencies. This task is fundamental to professional electrician training and is essential whether you’re working on a simple residential load center vs. a more complex panelboard. Taking the time to accurately trace and label each circuit demonstrates a commitment to safety and quality workmanship. Clear distinctions between panel types and their contents further enhances the safety and maintainability of the electrical system.
Key Considerations for Professional Electricians
- Choose the Right Tool: Invest in a professional-grade circuit tracer with a high CAT rating (CAT III 600V minimum for panel work), adjustable sensitivity, and reliable indicators to handle complex job sites.
- Understand Signal Bleed: In crowded panels or conduits, the tracer’s signal can be induced onto nearby wires. Always confirm your finding by making a second pass with reduced sensitivity.
- Document Your Findings: Don’t just find the breaker; update the panel’s legend immediately. A clear, accurate panel directory is a critical safety feature for everyone who works on the system.
- Prioritize Energized Wire Identification Safety: Never let speed compromise safety. Always follow NFPA 70E guidelines, use properly rated tools, and wear appropriate PPE when working near energized components.
Frequently Asked Questions (FAQ)
- What’s the difference between a circuit tracer and a simple breaker finder?
- A professional circuit tracer typically has higher sensitivity, the ability to trace opens and shorts, and often includes an inductive clamp for non-contact signal injection. A basic breaker finder is usually limited to identifying breakers from standard outlets and may have less sophisticated filtering to prevent false positives.
- Can I use a circuit tracer on a circuit where the breaker keeps tripping?
- Yes. If a breaker keeps tripping, you’ll need to reset it momentarily to allow the transmitter to send its signal. This allows you to identify the circuit. Once identified, you can de-energize it and begin troubleshooting the cause of the trip, such as a short circuit or an overload condition.
- How do I avoid false positives when using a circuit breaker finder on a live breaker panel?
- To avoid false positive identification, always perform an initial scan of the entire breaker panel to let the receiver calibrate. Then, perform a second, slower scan. When you get a strong reading, reduce the receiver’s sensitivity and scan the identified breaker and its immediate neighbors again. The correct breaker will give a clear, repeatable signal even at the lower sensitivity, while false readings will disappear.
Continuing Education by State
Select your state to view board-approved continuing education courses and requirements:
Disclaimer: The information provided in this educational content has been prepared with care to reflect current regulatory requirements for continuing education. However, licensing rules and regulations can vary by state and are subject to change. While we strive for accuracy, ExpertCE cannot guarantee that all details are complete or up to date at the time of reading. For the most current and authoritative information, always refer directly to your state’s official licensing board or regulatory agency.
NEC®, NFPA 70E®, NFPA 70®, and National Electrical Code® are registered trademarks of the National Fire Protection Association® (NFPA®)
You may also like

Colorado Electrical Licensing Requirements and Reciprocity Guide

Standby Generators in DE: Navigating Coastal Storm Regulations
