Intro to Schematics: Reading a Simple Motor Control Circuit
Intro to Schematics: Reading a Simple Motor Control Circuit
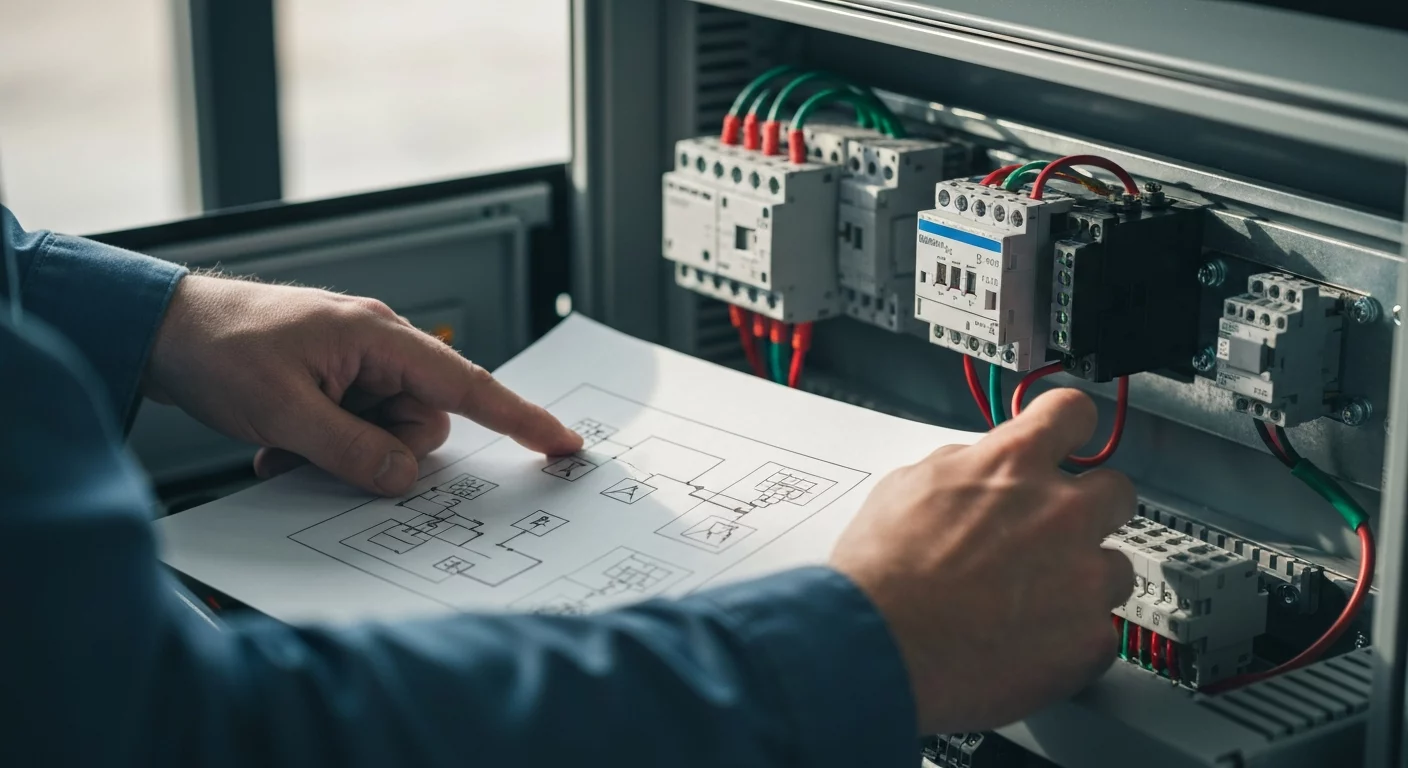
Understanding a motor control schematic for beginners is a fundamental skill for any electrician, from apprentice to Master Electrician. At its core, a motor control schematic, often drawn as a ladder logic diagram, is a map that illustrates how a circuit operates, not its physical layout. This guide breaks down a basic start/stop circuit, explaining how components like a magnetic contactor, push-buttons, and overload protection work together. We will explore the two main parts: the high-power section that runs the motor and the low-voltage control circuit that tells it what to do. By learning to interpret the common electrical schematic symbols for normally open (NO) and normally closed (NC) contacts, you can trace the flow of electricity, diagnose problems, and understand the logic behind how industrial machinery is controlled. This knowledge is crucial for safe and effective electrician training and fieldwork.
What’s the Difference Between a Schematic and a Wiring Diagram?
For anyone new to the trade, one of the first points of confusion is the difference between a schematic and a wiring diagram. While the terms are sometimes used interchangeably, they serve distinct purposes. A wiring diagram is a pictorial representation showing the physical layout of components and how wires connect to specific points, like a terminal block. It’s essential for installation.
A motor control circuit schematic, however, focuses on the circuit’s function and logic. Typically presented as a ladder logic diagram, it arranges components between two vertical lines representing the power source, like rungs on a ladder. This format makes it much easier to understand the sequence of operations and troubleshoot logical faults. In short, a wiring diagram shows where things go, while a schematic shows how they work. Being able to read both is a hallmark of a proficient journeyman or master electrician.
Foundational Concepts for Control Logic
Before diving into a motor schematic, it’s vital to grasp two foundational electrical principles. While many control circuits are AC, the logic often mirrors basic DC principles. Understanding a series vs parallel circuit is non-negotiable for reading a ladder diagram. For example, a simple DC circuit helps illustrate these concepts clearly.
- Series Circuit: Components are connected end-to-end. The current has only one path. This is used for safety devices in motor control; stop buttons and overload contacts are wired in series so that if any one of them opens, the entire circuit is broken, and the motor stops.
- Parallel Circuit: Components are connected across the same two points. The current has multiple paths. This is used for start buttons or any multiple-location controls. Any one of the start buttons can complete the circuit to energize the motor starter.
Grasping this simple logic is the key to unlocking the functionality of even complex control schemes.
Deconstructing a Simple Motor Control Circuit
A standard motor starter circuit is divided into two distinct parts: the power circuit and the control circuit. This separation enhances safety by allowing electricians to work on the low-voltage control logic without exposure to high-power motor voltages.
The Power Circuit: The Muscle
The power circuit does the heavy lifting. Its only job is to deliver high-voltage power to the three-phase motor. It typically includes:
- Line Voltage (L1, L2, L3): The incoming three-phase power source.
- Disconnect/Circuit Breaker: Provides a means of isolating the circuit and overcurrent protection.
- Magnetic Contactor Contacts: A set of heavy-duty contacts (one for each phase) that are physically closed by the control circuit’s electromagnet to allow power to flow to the motor.
- Overload relays / heaters: Overload relays (often using heater elements) are part of the starter assembly. They are sized to protect the motor and, when an overload condition occurs, operate auxiliary contacts in the control circuit to de-energize the contactor coil and stop the motor.
The Control Circuit: The Brains
The control circuit is where the logic happens. It uses a lower, safer voltage supplied by a control transformer (e.g., 480V stepped down to 120V or 24V). This is the part of the schematic drawn as a ladder diagram.
Here are the key components you’ll find:
- Stop Button: A push-button station with normally closed (NC) contacts. It’s wired in series. Pushing it breaks the circuit.
- Start Button: A push-button with normally open (NO) contacts. Pushing it momentarily completes the circuit.
- Contactor Coil (M): An electromagnet. When energized, it pulls in the high-power contacts in the power circuit AND the auxiliary contacts in the control circuit.
- Seal-in Contact (M): Also known as a holding contact, this is a set of auxiliary normally open (NO) contacts on the contactor. It’s wired in parallel with the start button. Its job is to “seal in” or maintain the circuit after the start button is released.
- Overload Contact (OL): A set of normally closed (NC) contacts associated with the overload relays in the starter. If the motor is overloaded, these contacts open, breaking the control circuit and de-energizing the contactor coil.
Step-by-Step: How to Read the Start/Stop Logic
Tracing the flow of current on a ladder diagram is the best way to understand its function. Let’s walk through a standard start-stop motor control circuit.
- Initial State: In its resting state, power flows from the transformer through the series-wired NC Stop button and the NC overload contact, reaching one side of the Start button and one side of the seal-in contact. The circuit is open at both of these parallel points, so the motor is off.
- Pressing the Start Button: When an operator presses the Start button, its NO contacts close. This completes the path for current to flow through the stop button, the start button, and the contactor coil (M) to the other side of the transformer.
- Energizing the Contactor: With the contactor coil energized, its electromagnet activates. This has two immediate effects: the main power contacts close to start the three-phase motor, and the auxiliary seal-in contact (M) also closes.
- Sealing the Circuit: The instant the seal-in contact closes, it creates a parallel path for current around the Start button. Now, even when the operator releases the Start button (which opens its contacts again), the current continues to flow through the now-closed seal-in contact to keep the coil (M) energized. This is the “latching” or “holding” action of the circuit.
- Stopping the Motor: The motor will continue to run until the control circuit is broken. This happens in one of two ways: either the Stop button is pressed, opening its NC contacts, or an overload condition trips the OL contact, opening it. In either case, the path to the contactor coil is interrupted, de-energizing it. The magnetic field collapses, and both the main power contacts and the seal-in contact return to their normally open state, stopping the motor.
Understanding this sequence is essential for any form of electrician training and is a concept frequently tested for journeyman electrician and master electrician licensing.
Beyond the Basics: Jogging Circuits and VFDs
Once you’ve mastered the basic start/stop schematic, you can begin to understand more advanced controls. A jogging circuit, for instance, is a common modification that allows a motor to run only while a button is held down, by bypassing the seal-in contact. This is useful for making small adjustments to machine positioning. For even more precise control, modern installations often use a Variable Frequency Drive (VFD). A VFD allows you to control not just on/off status but the actual speed of the motor, offering significant energy savings and operational flexibility. We cover this topic in depth in our article, What is a VFD (Variable Frequency Drive)?
Proper component selection, especially for protective devices, is mandated by the NEC code book. Ensuring your overload protection and disconnects are correctly sized is critical for safety and compliance. Learn more about the components in our guide to motor rated switches. For those preparing for exams or looking to stay current, our online electrical courses on the 2023 NEC simplify complex topics like motor conductor sizing.
Related Resources
Frequently Asked Questions (FAQ)
What is the first step in reading a motor control schematic for beginners?
The first step is to distinguish between the high-voltage power circuit and the low-voltage control circuit. The control circuit, typically shown as a ladder logic diagram, dictates the motor’s operation. Identify the main components like the start/stop buttons, magnetic contactor coil, and overload protection contacts.
Why are normally open (NO) and normally closed (NC) contacts important in a motor control circuit?
Normally open (NO) contacts and normally closed (NC) contacts are the building blocks of control logic. NC contacts (like stop buttons and overloads) are used for safety shutdowns, as they create a “fail-safe” circuit that is complete by default. NO contacts (like start buttons and holding contacts) are used to initiate an action, completing the circuit only when activated.
What is the function of a seal-in contact in a schematic?
A seal-in contact, also called a holding contact, is a normally open auxiliary contact on the main contactor. It is wired in parallel with the start button. Its function is to maintain the circuit and keep the contactor coil energized after the momentary start button is released, thus “sealing in” the run command.
How do electrical schematic symbols differ from a wiring diagram?
Electrical schematic symbols are standardized icons that represent electrical components and their function within a circuit’s logic. A schematic uses these symbols to show how a circuit works. A wiring diagram, in contrast, shows the physical connections and layout of these components, including the wiring to a terminal block, guiding the actual installation process.
Continuing Education by State
Select your state to view board-approved continuing education courses and requirements:
Disclaimer: The information provided in this educational content has been prepared with care to reflect current regulatory requirements for continuing education. However, licensing rules and regulations can vary by state and are subject to change. While we strive for accuracy, ExpertCE cannot guarantee that all details are complete or up to date at the time of reading. For the most current and authoritative information, always refer directly to your state’s official licensing board or regulatory agency.
NEC®, NFPA 70E®, NFPA 70®, and National Electrical Code® are registered trademarks of the National Fire Protection Association® (NFPA®)
You may also like

Colorado Electrical Licensing Requirements and Reciprocity Guide

Standby Generators in DE: Navigating Coastal Storm Regulations
