How to Clean AC Condenser and Evaporator Coils Safely
For a licensed electrician, knowing how to clean air conditioner coils is a critical aspect of comprehensive HVAC electrical preventative maintenance. The process involves far more than just spraying water; it requires strict adherence to electrical safety protocols to prevent injury and equipment damage. Proper cleaning begins with ensuring absolute electrical isolation through robust lockout/tagout procedures at the disconnect. After de-energizing, use an approved air conditioner coil cleaner to remove dirt and debris from the condenser and evaporator coils, which restores heat exchange efficiency. This guide details the essential electrical safety steps, from initial AC disconnect safety and voltage verification to post-cleaning inspections, ensuring the entire job is performed to the highest professional standard, whether on a standard split system or a complex mini-split air conditioner.
The Electrician’s Role in HVAC Maintenance: Beyond the Breaker
While often viewed as an HVAC technician’s task, cleaning coils on an air conditioning (AC) unit is fundamentally an electrical-adjacent procedure. An electrician’s expertise is invaluable for ensuring the system is safely de-energized and that all electrical components are protected and inspected during the process. Adherence to NFPA 70E compliance is not optional; it’s the foundation of a safe work environment. Dirty coils can lead to system inefficiencies, including diagnosing high head pressure and increased amperage draw, which puts stress on electrical components like compressors and fan motors. By understanding the full scope of coil cleaning, electricians can offer a higher level of service and prevent electrical failures down the line. This is especially true for larger systems, like a 5 ton air conditioner, where electrical loads are significant.
Essential Safety First: Lockout/Tagout and Electrical Verification
Before any cleaning begins, the absolute first priority is electrical safety. Failure to properly de-energize the system can result in severe shock, electrocution, or equipment damage. This process is governed by strict standards for high-voltage circuit safety.
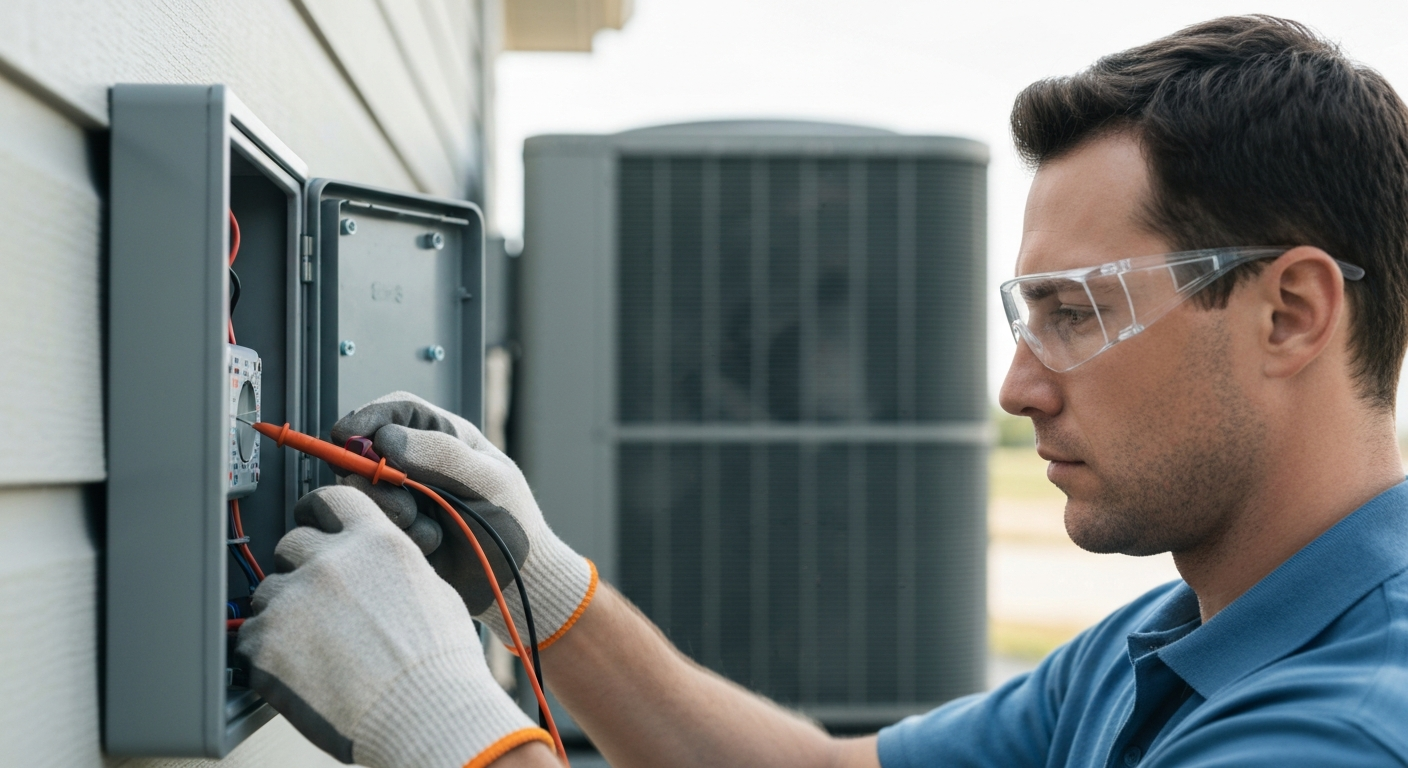
Always begin with proper AC disconnect safety. Locate the service disconnect near the outdoor unit and the corresponding breaker in the main panel. Turn both to the off position. This is where you must apply your professional knowledge of lockout/tagout procedures. A lock and tag must be placed on the disconnect to prevent accidental re-energization while you are working. After applying the lock, you must perform multimeter voltage verification at the unit’s contactor to confirm a zero-energy state. Never trust that a switched-off breaker has fully de-energized the circuit. For a complete review of these critical steps, it’s important to understand how to properly identify disconnecting means as defined in the 2023 NEC.
How to Clean Air Conditioner Coils: The Condenser Unit (Outdoor)
The outdoor unit houses the air conditioner condensers, which are designed to release heat. Their exposure to the elements makes them magnets for dirt, leaves, grass clippings, and cottonwood. When these fins become clogged, the system cannot dissipate heat effectively, leading to reduced efficiency and potential component failure. Using a quality air conditioner condenser cleaner is vital.
Step-by-Step Guide to Cleaning Condenser Coils
- De-energize and Verify: Perform the full lockout/tagout and voltage verification steps outlined above. This is non-negotiable.
- Clear Debris: Remove any large debris like leaves, twigs, and grass from around and inside the unit by hand.
- Protect Electrical Components: Use plastic sheeting and tape for thorough electrical component protection. Carefully cover the fan motor, wiring connections, and any control boards to shield them from water and cleaning chemicals.
- Apply Cleaner: Liberally spray an approved air conditioner foaming coil cleaner or a dedicated coil cleaner for air conditioner onto the fins. Start from the top and work your way down, ensuring complete coverage. Many commercial-grade coil cleaning solutions are self-rinsing, but for heavily soiled coils or when using a cleaner that is not self-rinsing, a gentle rinse is best. Let the hvac coil cleaner sit for the manufacturer-recommended time (typically 5-10 minutes) to break down the grime.
- Rinse Gently: Using a garden hose with a spray nozzle, gently rinse the coils from the inside out. This pushes the dirt and cleaner away from the unit instead of driving it deeper into the fins. Avoid using a high-pressure washer, as it can easily bend the delicate aluminum fins. Proper unit placement is also a factor, as the NEC has specific rules about how AC unit placement near wet locations is affected by the 2023 code.
- Inspect While Cleaning: With the covers off, this is the ideal time for a visual contactor inspection and cleaning, checking for pitted or burned contacts. Also, check the condenser fan motor wiring for any signs of cracking or heat damage.
Servicing the Evaporator Coil and Mini-Split Systems
The evaporator coil, located in the indoor air handler, presents different challenges. Access can be difficult, and moisture control is paramount. These principles also apply directly to the indoor units of ductless systems, whether you’re performing a ductless air conditioner installation or just routine service. When it comes to how to clean hvac coils indoors, mastering evaporator coil access techniques is key.
The popularity of diy mini split systems is growing, but professional maintenance remains critical. Whether you’re working on a wall-mounted unit, a mini split ceiling cassette, or another type of mini-split air conditioner, the cleaning process is delicate. Many homeowners attempt a diy mini split or mini split diy cleaning, but often miss critical electrical checks. For electricians, a service call might be related to a botched how to install mini split attempt. If you’re involved in a mini split installation, or even a full aircon mini split installation, educating the client on proper maintenance is a value-add. If they ask about “mini split installers near me,” it’s a chance to discuss the scope of professional work, including the electrical connections required for the installation of mini split air conditioner.
Key Considerations for Indoor & Mini-Split Systems
- Containment is Crucial: Use a cleaning bib or bag specifically designed for a mini split ac installation to catch all the water and air conditioner cleaner spray. This prevents water damage to walls, floors, and internal electronics.
- Use Approved Cleaners: Use a no-rinse, non-acidic cleaner suitable for indoor evaporator coils.
- Inspect Condensate System: A clogged condensate line is a common failure point. During service, perform a condensate pump wiring inspection and ensure the drain line is clear.
- Gentle Cleaning: The fins on indoor coils are extremely delicate. Use a soft brush and a low-pressure sprayer. For diy mini splits, this is often where damage occurs.
Post-Cleaning Electrical Inspection and System Startup
After the coils are clean and dry, the job isn’t finished. An electrician’s final checks are what guarantee a safe and reliable system restart.
Carefully remove all protective coverings. Re-install all panels and guards. Once the unit is fully reassembled, you can remove your lock and tag and re-energize the system. At this point, perform a full operational check. Conduct an amp draw measurement on the compressor and condenser fan motor to ensure they are operating within manufacturer specifications. A clean coil should result in a lower amp draw and head pressure. This is also a good time to perform HVAC capacitor testing, as weak capacitors are a common cause of failure. Check for any accessories like an air conditioner hard start kit or a soft start for air conditioner to ensure they are functioning correctly. This final inspection aligns with the principles for safe equipment servicing and maintenance as defined by the NEC, which you can learn more about in our course covering how the 2023 NEC defines equipment servicing and maintenance.
By following these rigorous electrical safety and inspection procedures, you elevate a simple cleaning task into a comprehensive preventative maintenance service that protects the equipment and your client. Learn essential maintenance and safety procedures in our continuing education courses.
Primary Sources for Electrical Safety Compliance
For certified professionals, staying current with safety standards is mandatory. Always refer to the latest editions of these official documents:
- NFPA 70: National Electrical Code (NEC)
- NFPA 70E: Standard for Electrical Safety in the Workplace
- OSHA 29 CFR 1910.147: The Control of Hazardous Energy (Lockout/Tagout)
Frequently Asked Questions (FAQ)
What is the first and most critical step in how to clean HVAC coils?
The most critical first step is ensuring the system is completely de-energized. This involves turning off the breaker and the local disconnect, followed by applying proper lockout/tagout procedures. You must then use a calibrated multimeter for multimeter voltage verification at the unit to confirm a zero-energy state before any physical work begins. This adherence to high-voltage circuit safety is non-negotiable.
Can I use any air conditioner coil cleaner on my mini-split air conditioner?
No. It is crucial to use a cleaner specifically formulated for evaporator coils, which are often “no-rinse” and non-acidic to protect the delicate fins and prevent harmful fumes indoors. For the outdoor unit, a more robust air conditioner foaming coil cleaner can be used. Always check the manufacturer’s recommendations for both the cleaning product and the mini-split air conditioner itself.
What electrical checks are crucial after learning how to clean air conditioner coils?
After cleaning and re-energizing the system, key electrical checks include performing an amp draw measurement on the compressor and fan motors to verify they are within spec. It’s also best practice to conduct HVAC capacitor testing, as weak capacitors are a leading cause of motor failure. Finally, visually inspect all wiring for integrity and ensure components like an air conditioner hard start kit are secure.
Continuing Education by State
Select your state to view board-approved continuing education courses and requirements:
Disclaimer: The information provided in this educational content has been prepared with care to reflect current regulatory requirements for continuing education. However, licensing rules and regulations can vary by state and are subject to change. While we strive for accuracy, ExpertCE cannot guarantee that all details are complete or up to date at the time of reading. For the most current and authoritative information, always refer directly to your state’s official licensing board or regulatory agency.
NEC®, NFPA 70E®, NFPA 70®, and National Electrical Code® are registered trademarks of the National Fire Protection Association® (NFPA®)
You may also like

Colorado Electrical Licensing Requirements and Reciprocity Guide

Standby Generators in DE: Navigating Coastal Storm Regulations
